Subframe reinforcement kit, for 2008-2018 KTM 690 Enduro and Husqvarna 701 Enduro all MY - Installation Instructions
These instructions are for 2008-2018 KTM 690 Enduro R or Husqvarna 701 Enduro, all MY.
For 2019+ KTM 690 Enduro R check HERE.
In order to remove lower OEM bolt sleeve and rubber bushings tank needs to be lifted few cm's and that consumes most of the time, since air box needs to get out and exhaust bracket needs to be unbolted from the tank.
Although it may be possible to install Subframe reinforcement kit without removing air box, I strongly suggest to remove it - it will be much easier to work and there is less chance to brake something or to install it wrong. There is helpful blog post about removing air box here. Procedure is also described in KTM Repair manual - page 55 or 57, depending on model year.
Check the video at the end of the Instructions (Husqvarna 701).
Instructions for Perun moto KTM 690 Enduro Subframe reinforcement kit - upper and lower
1. Remove air box.
Tip for pre-2014 bikes: inspect air temperature sensor wires.
2. Tank will be flipped over later, so disconnect fuel quick-connect.

3. Loose upper tank bolts, both sides, so later tank can be rotated over easily. Just loose them a bit, don’t take them out.
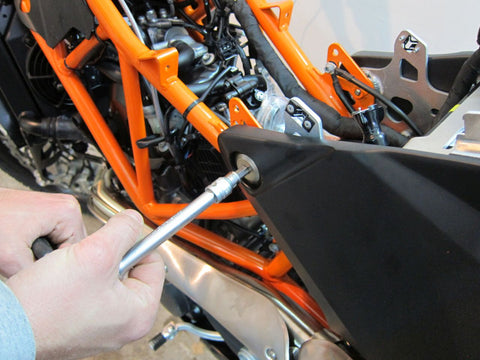

4. Release back plastic cover by removing screws on both sides, so exhaust mounting points can be reached. No need to completely remove back plastic cover.


5. Release exhaust pipe by removing upper bracket screws

or lower bracket screw (or screws, depending on the model year).

No need to completely remove exhaust pipe, this is enough to free the tank.
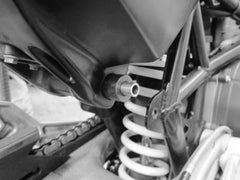
6. Remove lower subframe (tank) bolts and washers (on 204-2016 models - remove countersunk washer).
Left side.


Right side.

If bolt rotates without moving out, hold the bolt on the other side - both bolts are bolted into same threaded sleeve.
If one bolt is removed, but other just rotates, use proper allen key to prevent threaded sleeve from rotating. Inside the threaded sleeve, behind threads, there is a slot for allen socket.

Or consider using impact wrench, if you have access to it.
7. Once everything is removed, lift fuel tank enough to have easy access to lower rubber bushings. Lift tank slowly and be careful not to brake any hose or wires. Someone needs to hold the tank while you work on lower assembly, or even better, secure it with straps - tie it to the handlebars.

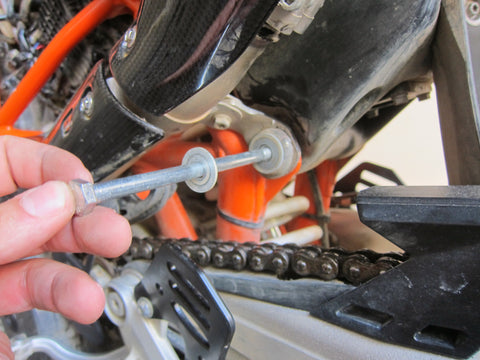
8. Remove OEM metal sleeve and rubber bushings.

Be careful not to damage fuel tank while removing rubber bushings. Push it out from other side, or bolt M10 bolt into rubber bushing (just a little) and pull it out.
Clean the hole in fuel tank of any dirt.
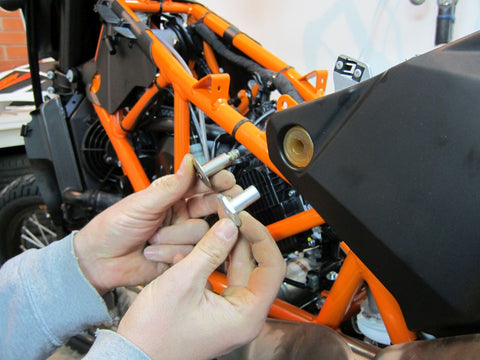
9. Install Perun moto plastic bushings and stainless steel sleeve.
Variant A) Apply little amount of grease on new plastic bushings (inside and out), then install lower bushings half way in, on both sides. Apply little amount of grease on new metal sleeve (inside and out), then install sleeve, centering it accordingly.
Once you centered the sleeve, install bushings and sleeve all the way in. Tap bushings lightly with plastic hammer, if needed.

OR
Variant B) Apply little amount of grease on new plastic bushings (inside and out), then install lower bushing just on one side (either one), all the way in. Apply little amount of grease on new metal sleeve, then slide metal sleeve through installed bushing, all the way in and push it little more in, with screwdriver. This will appear on other side:

Then slide other bushing on metal sleeve, and tap it in.
In any case, make sure plastic bushings are flush wit plastic tank.

10. Apply some grease on the lower bolt (avoiding threads).
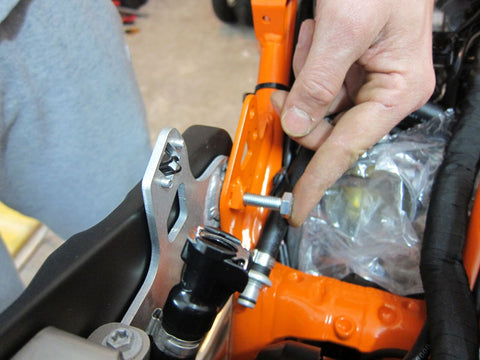
11. Lower fuel tank, center the holes and install lower bolt with washer. Insert it from the exhaust side (so bolt head is on the exhaust side). Don’t use unnecessary force - move tank up and down a bit and bolt should slide in. Install washer and nut on the other side, and tighten it with hand. Lower bolt will be tightened up after upper bolts are installed.

Note for 2014+ models - since you removed OEM countersunk washer, use provided M8 large washer instead.
UPDATE, May 2019, for 2014+ models - if you received countersunk M8x155 bolt, keep OEM countersunk washer, instead of flat washer shown on photo above.
Note for 2008-2013 models - use provided large M8 washer on both sides.

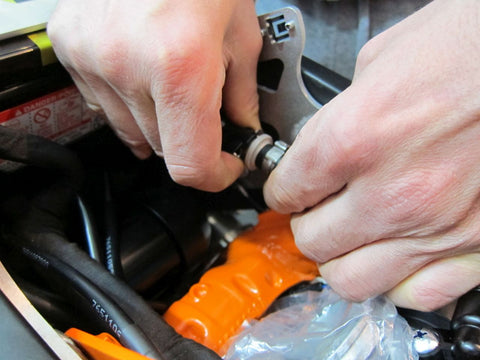
12. Remove OEM upper tank bolt from only one side.
Install new M8x25 ISO 7380 (button head) bolt from inside, all the way in (don’t tighten it yet).
13. Apply small amount of grease on the outside of bolt cap (part that will slide through rubber bushing). Apply Loctite 243 or similar thread locker into the bolt cap.

Install bolt cap. Screw bolt cap onto the bolt. Move tank up and down a bit, if needed. Tighten with hand.

14. Repeat 12 and 13 on the other side.
15. Once everything is in place, tighten lower bolt to 10-15 Nm. Hold the nut on the other side. Do not over tight!
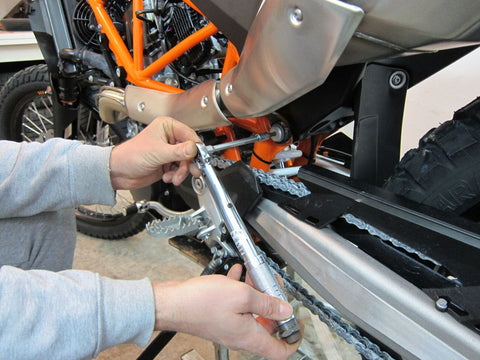
Tighten upper bolts to 10Nm, then tighten bolt caps to 10-15Nm. Hold bolts while tightening bolt caps. Do not over tight!

16. Install exhaust pipe screws (2).

17. Fix back plastic cover by installing screws on both sides (1).


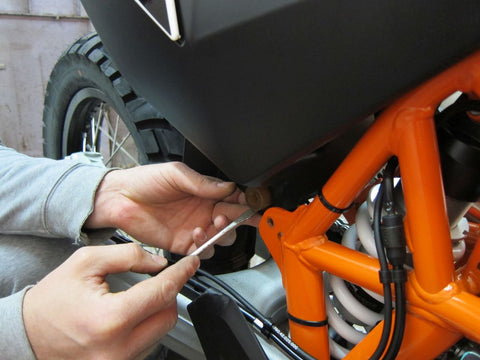
18. It may be wise to use some simple rubber hose to protect fuel line from rubbing the bolt. Just cut the hose...

...and secure it with plastic straps.

19. Install air box, air filter, filter lid and front fairings. Connect quick-connect fuel line!
19. Done!
Once in a while, check upper rubber bushings for wear and replace if necessary.
Adam Chandler from Advrider made this great installation video:
...